Trezor.io/start: The Complete Guide for Crypto Beginners & Enthusiasts
Learn how to securely set up your Trezor hardware wallet, explore advanced features, and safeguard your crypto assets like a pro.
What is Trezor.io/start?
Trezor.io/start is the official starting point for setting up your Trezor hardware wallet. Whether you’re just diving into crypto or expanding your portfolio, it guides you step-by-step to ensure your digital assets are protected. Hardware wallets like Trezor are essential because they keep your private keys offline, making them virtually immune to online hacks, phishing attacks, and malware.
Step-by-Step Guide to Set Up Your Trezor Wallet
1. Unbox and Connect Your Trezor
After receiving your Trezor device, inspect the packaging to ensure it hasn’t been tampered with. Connect the device to your computer using the supplied USB cable.
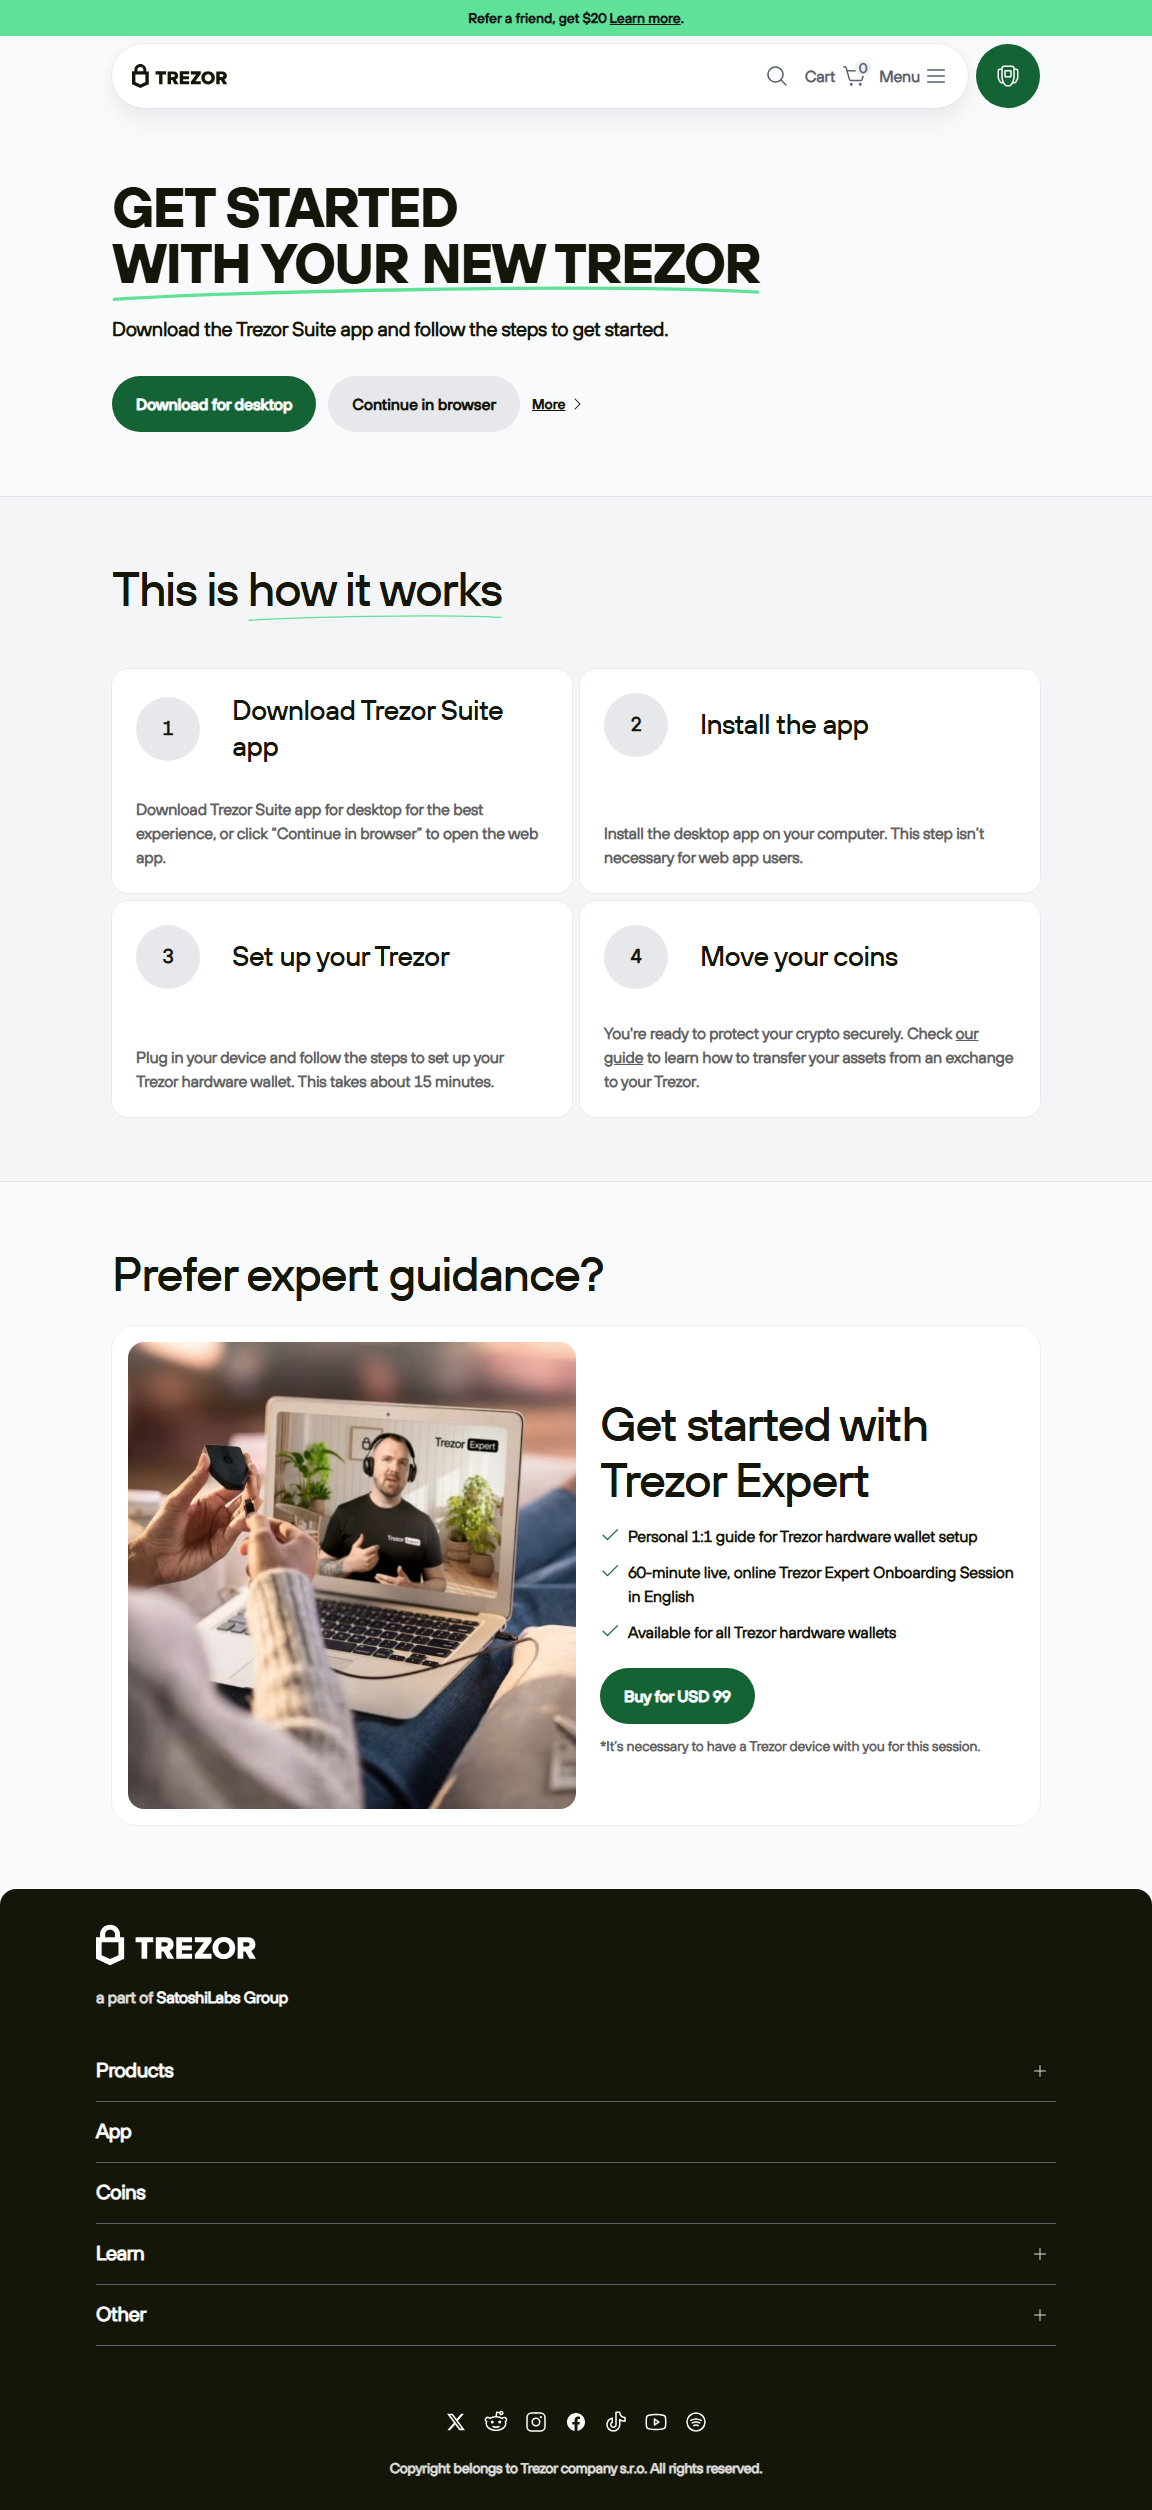
2. Go to Trezor.io/start
This website guides you through the entire setup process. It will automatically detect your Trezor model (Trezor One or Trezor Model T) and provide device-specific instructions.
3. Install the Trezor Bridge
The Trezor Bridge is a small program that enables your computer to communicate with your Trezor device securely. Follow the prompts to download and install it.
4. Create a New Wallet
You’ll be asked whether to create a new wallet or recover an existing one. For beginners, select Create a new wallet. Your Trezor will generate a 24-word recovery seed—a crucial backup for your funds.
5. Set a PIN
A PIN adds an extra layer of security. Choose a unique code and avoid common sequences like 1234 or 0000. Each incorrect attempt will increase the delay before the next attempt, protecting against brute-force attacks.
Why Choose a Trezor Wallet?
Many crypto users struggle with digital security. Here’s why Trezor stands out:
| Feature | Trezor Wallet | Software Wallet |
|---|---|---|
| Security | Offline storage; immune to online hacks | Connected to the internet; vulnerable to malware |
| Backup | 24-word recovery seed | Usually software-based backup (riskier) |
| Ease of Use | Simple interface, Trezor Suite app integration | Varies by wallet |
| Multi-Currency Support | Supports Bitcoin, Ethereum, and 1000+ altcoins | Depends on wallet |
Tips for Safe Crypto Management
- Keep your recovery seed offline: Never take photos or store it digitally.
- Use strong PINs: Avoid predictable numbers.
- Update firmware: Trezor releases updates to enhance security.
- Verify addresses: Always double-check recipient addresses before sending crypto.
- Enable passphrase: For added security, consider setting a passphrase in addition to your recovery seed.
Frequently Asked Questions (FAQ)
Q1: Can I recover my wallet if I lose my Trezor?
Yes! Use your 24-word recovery seed to restore your wallet on a new Trezor or a compatible hardware wallet.
Q2: Is Trezor safe from hacks?
Yes, because it stores private keys offline. Even if your computer is infected, your crypto remains secure.
Q3: Can I use Trezor with multiple cryptocurrencies?
Absolutely! Trezor supports Bitcoin, Ethereum, and over 1000 altcoins, making it versatile for diverse crypto portfolios.
Advanced Features for Mid-Level Users
Once you’re comfortable, Trezor offers advanced tools:
- Passphrase Vaults: Add an extra layer of encryption to your wallet.
- Multi-Signature Transactions: Require multiple approvals for crypto transfers—ideal for teams or high-value funds.
- Trezor Suite App: Manage portfolios, exchange coins, and track prices in one interface.
Conclusion
Trezor.io/start is more than just a setup guide—it’s your gateway to safe, stress-free crypto management. By following these steps, safeguarding your recovery seed, and leveraging both beginner-friendly and advanced features, you can protect your digital assets with confidence. Hardware wallets like Trezor bridge the gap between convenience and security, allowing you to grow your crypto portfolio safely while avoiding common pitfalls.
Start today, secure your crypto, and embrace the world of decentralized finance with confidence!